It’s becoming harder and harder to track and upload offline conversions into Google Ads.
We’re talking about post-lead generation conversion actions that you need to optimize offline conversions.
Unfortunately, you can’t upload those conversions to Google unless you have a GCLID.
You might be asking “What if I don’t?”
In this guide, we’ll show you exactly how to import your conversion actions back to Google Ads.
Table of Contents
- What is a GCLID?
- What are WBRAID and GBRAID?
- How to turn on Enhanced Conversion for Leads
- How to add your leads’ email address and phone number
- How to import your leads to Google
- The reason why not every lead can be captured
What is GCLID?
You might have seen a parameter in a URL like this: www.example.com/?gclid=123xyz
The parameter after the main URL is called a GCLID.
Google Click Identifier (GCLID) is a unique identifier that Google automatically sends with every lead. Think of it as a “thumbprint” that allows you to track the lead back to the original Google Ads click, even if the lead did not convert immediately.
This strategy is pretty advanced. You are taking advantage of something that Google already does for you, and then using that information to improve your Google Ads campaigns.
For example, you could use GCLID to track which leads will most likely convert. This information could then be used to target your ads more effectively.
Or, you could use Gclid to track the performance of your landing pages. This information could improve your landing pages and make them more likely to convert leads.
Now, after Apple’s App Tracking Transparency (ATT) took effect on April 26, 2021, Google Click Identifier (GCLID) could no longer be used, resulting in decreased website and offline conversions.
What did Google replace it with? GBRAID and WBRAID.
What are WBRAID and GBRAID?
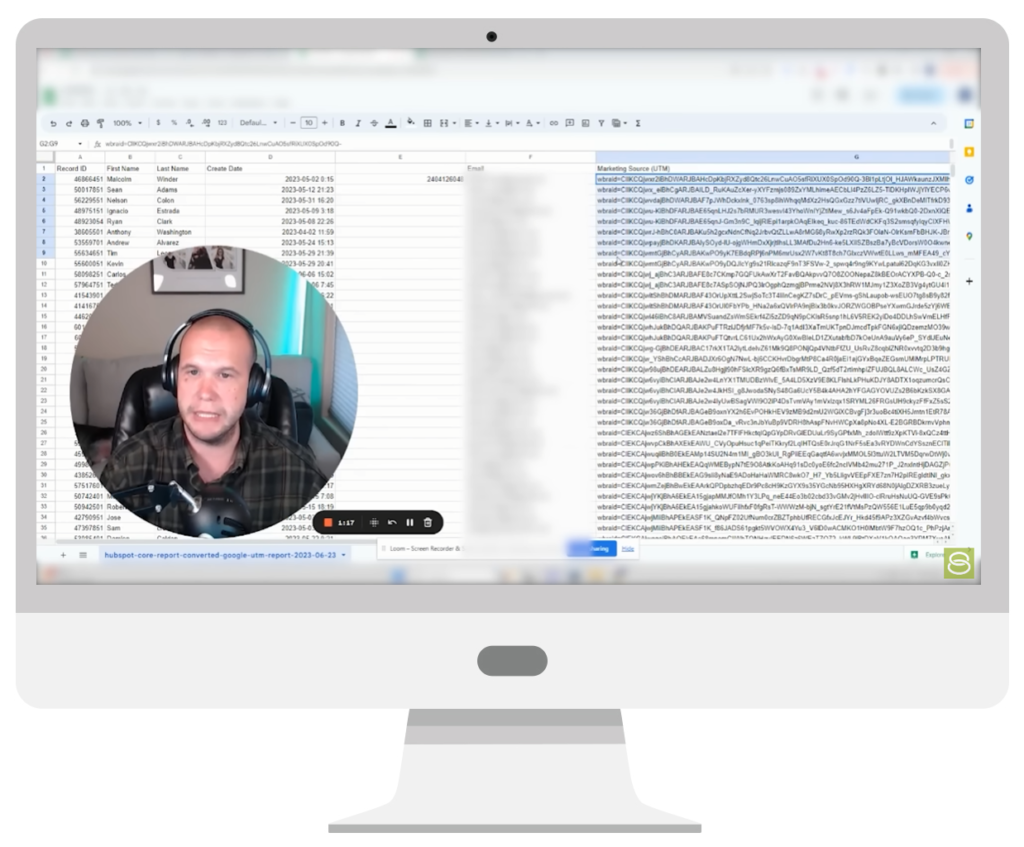
GBRAID and WBRAID are the new parameters that Google uses to attribute conversions from Apple iOS devices.
GBRAID is for app-to-app measurement.
WBRAID is for web-to-app measurement.
Here’s the problem. If you stick these to your Google sheets (conversions from clicks), Google will not accept them.
It will say your GCLID has been altered or invalid. This means you won’t be able to upload all your conversion actions back to Google.
The solution? To turn on the Enhanced Conversion for leads option in the back end of your account.
Here’s a step-by-step tutorial on how to do that.
How to turn on the Enhanced Conversions for Leads option
- Go to Settings > Enhanced Conversion for Leads. Then click “Turn on enhanced conversions for leads.”
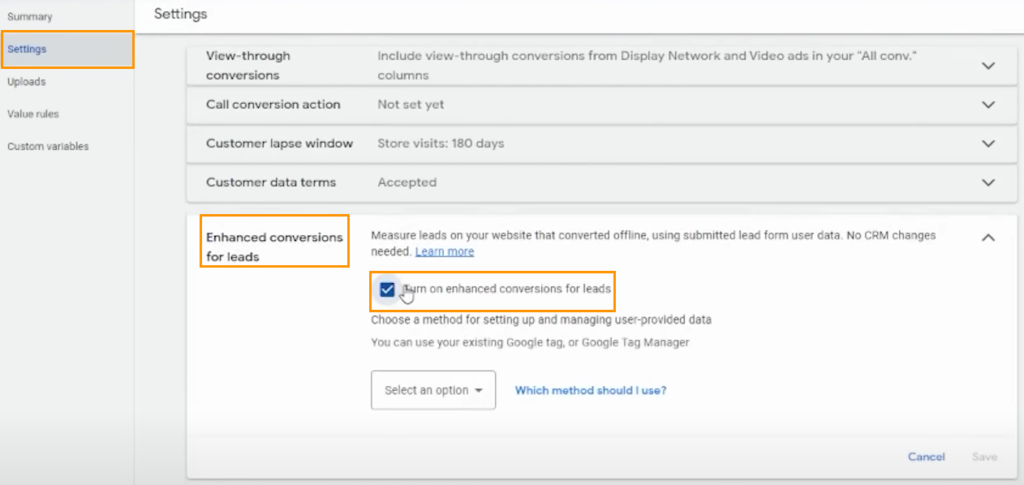
Select the option you want to use. This could be Google tag or Google Tag Manager, depending on how the conversion tracking has been installed on your site.

Note: If you aren’t sure how your conversion tracking was installed, click “which method should I use?” Then paste your website’s URL and click Check URL.
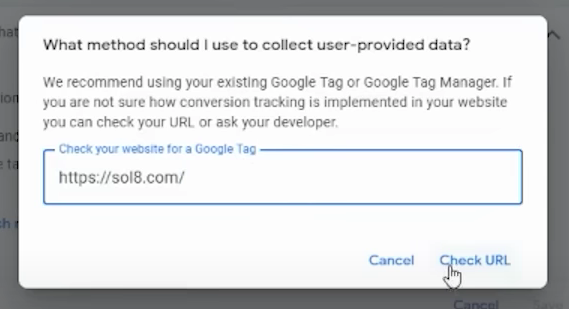
- Once finished, continue with the method of Google Tag Manager (or Google Tag) based on what Google showed.
- Click View instructions to configure your tag. Once finished, click Save.

- Go back to Settings>uploads. Click “view templates.”
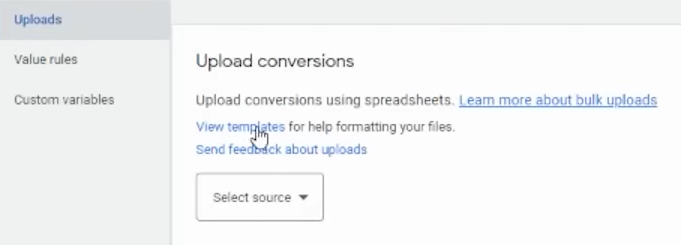
You should now see the option “conversions from clicks (enhanced conversions for leads). If you don’t, wait for 2-3 hours or check in occasionally.
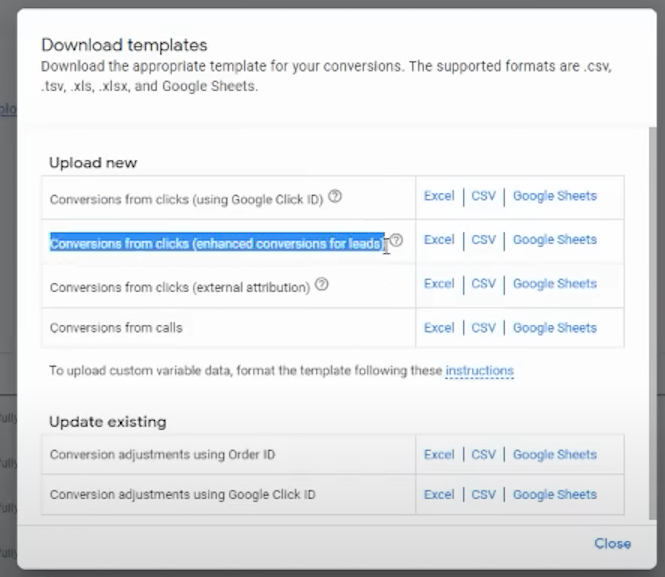
How to add your leads’ email and phone number
To import iOS-driven conversions, you must capture your user’s email address and phone number. These two details are vital for importing conversions.
- Click Google Sheets. Google will redirect you to the page with instructions on how to hash your data. Just click “spreadsheet template” for now. Then, make a copy.
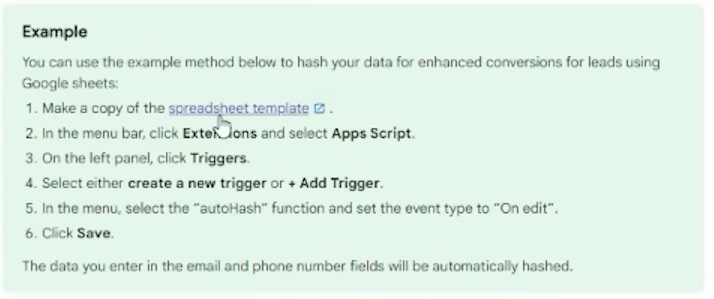
You should now have a new template that you can use for offline conversion uploads. For this tutorial, let’s call this sheet your “Enhanced Conversion for Leads Template.” We’ll be referring to this again in the next few steps.
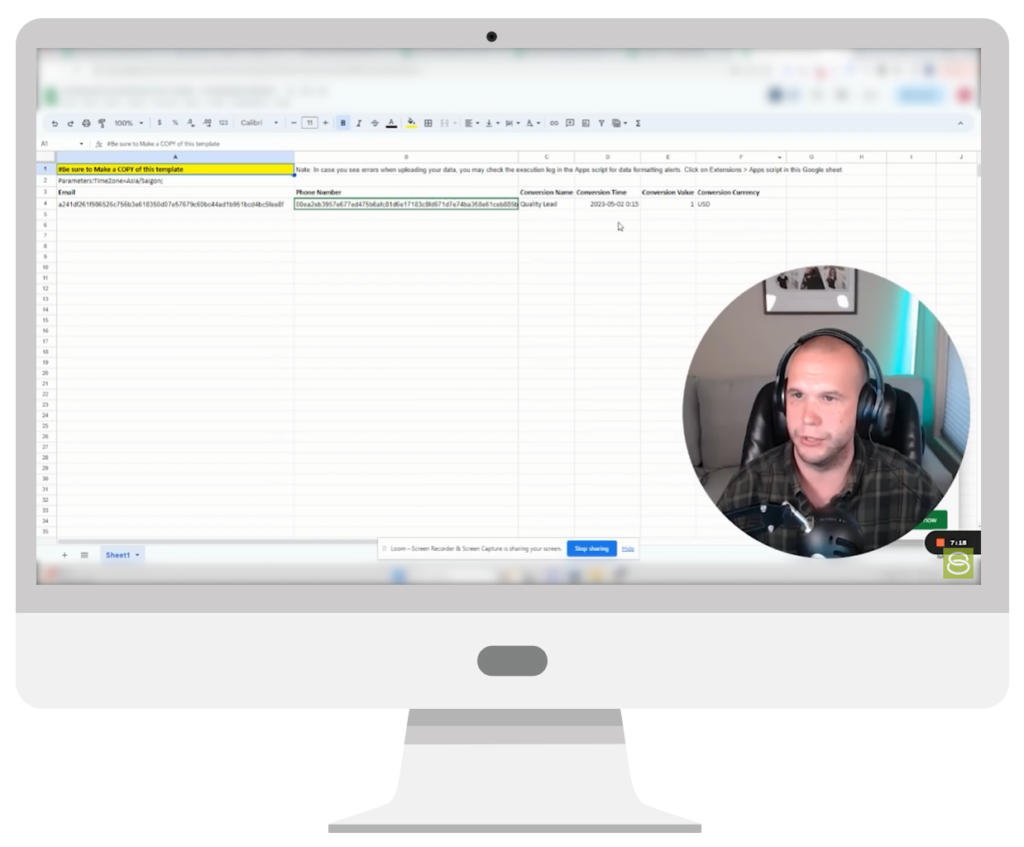
Important: This is where you can add the email and phone number of your leads. However, you can’t just paste the real information here. You need to convert them into a hex code using a hashing tool.
You can use any hashing generator you like BUT just make sure you use the hash type SHA256. Generate a code for each email and phone number (remove the dashes).
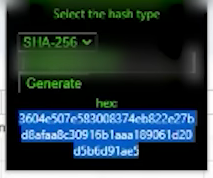
Once you’ve successfully hashed them, add the email and phone number to the sheet. They should look like this:
Other fields you need:
Conversion name
The conversion name is your secondary action. We call ours “quality lead,” but you can use any name you want. When the leads are uploaded back into Google, you want to see where the leads (and quality leads) came from (i.e., which campaign, ad group, keyword, etc.). This will allow you to overlay both data sets and know how many quality leads came from a specific ad, campaign, ad group, or keyword. By understanding where the higher-quality leads are coming from, you can make better optimizations to your campaigns.
Conversion Time
This is simply the time when or after the conversion took place.
Conversion Value
The default conversion value is 1. You may not always need to specify a conversion value, but if you do, it can be used by value-based bidding strategies for lead generation campaigns so that you can optimize for either maximized conversion value or target ROAS.
Conversion Currency
This can be in USD or any other specific currency you’re using.
Now you can upload your Enhanced Conversion for Leads Template to your Google Ads account.
How to import your leads to Google
- Head back to the back end of your Google Ads account and click Upload.
- Select a source and choose Google Sheets.
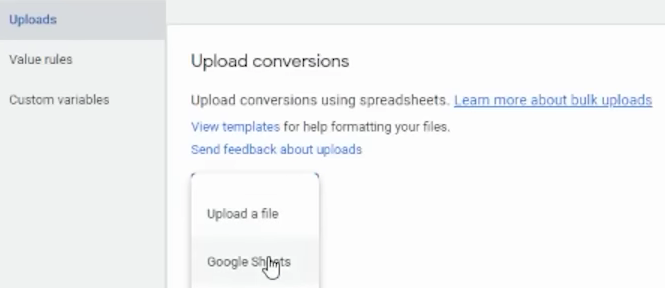
- Google will ask you to share your Enhanced Conversion for Leads Template with them. Copy the account/email address they provide.

- Go back into your Enhanced Conversion for Leads Template, click the share button, and share the template using the account/email address. (You don’t need to click “notify people”.)
- Go back into the uploads section and click link an existing Google Sheet. Look for your Enhanced Conversion for Leads Template, select it. Then click “Apply.”

You have now uploaded your conversion actions in Google Ads! You should see “Enhanced Conversion for Leads – Scheduled” in the uploads section.

The reason why not every lead can be captured
When you capture an email address as part of a conversion action, the match rate between the email address you capture and the email addresses Google has on file will affect how many conversions are recorded.
For example, if you upload 100 conversion actions with email addresses, and Google can only match 70 of those email addresses, then only 70 of the conversions will be recorded. This doesn’t mean that the other 30 conversions didn’t come from Google Ads, it just means that Google couldn’t match the email addresses.
This is the same method that Google uses for enhanced conversions. When you have enhanced conversions turned on and a user enters their email address on your website, Google compares the email address to the email addresses it has on file. If the email addresses match, then the conversion is recorded.
The same engine that Google uses for enhanced conversions is also used to match email addresses when you upload conversion actions manually. This means you can still record conversions for leads you generate after the fact, even if they didn’t come from a Google Ads click.
Final Word
GBRAID and WBRAID are becoming increasingly important for tracking conversions in Google Ads.
This is especially true for lead generation campaigns which are often plagued by spam and click farms.
Using the offline conversion import method, you can upload GBRAID and WBRAID conversions back into Google Ads, even if they don’t have a GCLID.
This will help you to track your conversions more accurately and optimize your campaigns for better results.
Author
Patience is the former director of marketing and communications for Solutions 8. A phenomenal content writer, copywriter, editor, and marketer, she has played a prominent role in helping Solutions 8 become an authority in the Google Ads space. Patience is also the co-author of The Ultimate Guide to Choosing the Best Google Ads Agency and You vs Google.
 Patience Hurlburt-Lawton