In the world of digital marketing, conversions are a crucial metric to track and analyze the success of your advertising campaigns.
They represent the actions users take, such as making a purchase, filling out a form, or subscribing to a newsletter, which aligns with your marketing goals.
However, it’s important to understand the difference between two specific conversion metrics: “Conversions” and “Conversions by Conversion Time.”
By the end of this post, you should be able to distinguish one from the other and understand which column to use, especially when you’re reporting conversions.
But first, what is a conversion lag?
One of the things that makes conversion tracking confusing is because of conversion lags.
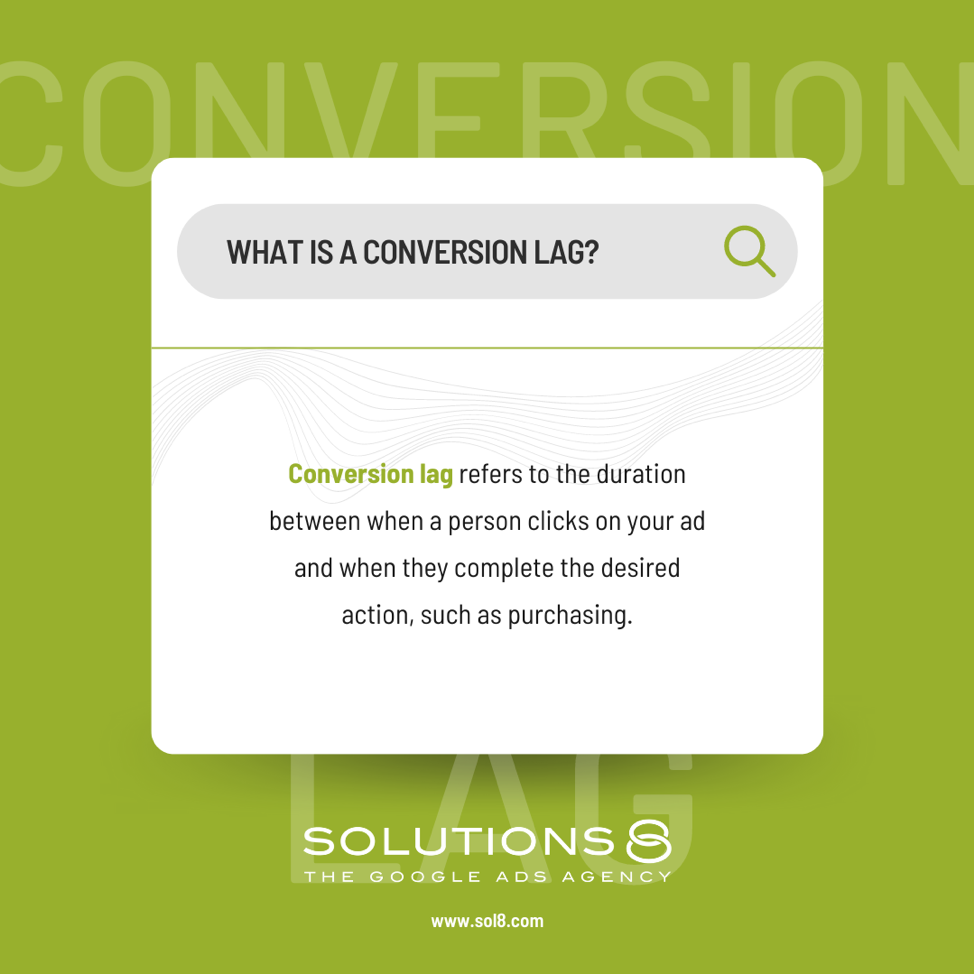
Conversion lag refers to the duration between when a person clicks on your ad and when they complete the desired action, such as purchasing.
For instance, if someone clicked on your ad on February 1st but didn’t make a purchase until February 8th, the conversion lag would be from February 1st to February 8th.
You can probably see why it’s confusing, right? Because of the conversion lag, it’s hard to see real-time data on your conversions, especially if you’re looking at the conversions column inside your dashboard.
That’s where Conversions (by conv. time) comes in!
The difference between Conversions and Conversion (by conv. time)
When we talk about “Conversions,” we refer to the number of conversions that occurred within your specified viewing date range. This metric shows the number of people who clicked on your ad and converted during the same time frame.
For example, if someone clicked on your ad on Day 1 and purchased on the same day, it would be counted as a conversion in this column.
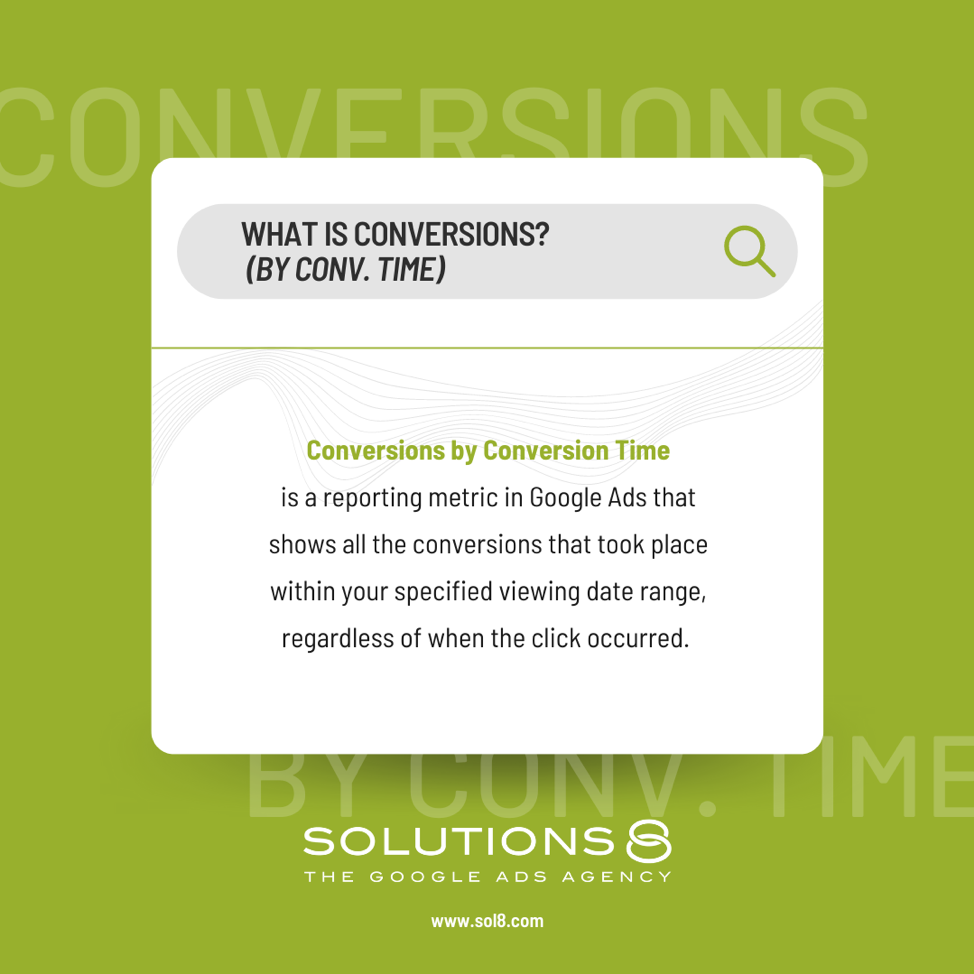
On the other hand, “Conversions by Conversion Time” shows all the conversions that took place within your specified viewing date range, regardless of when the click occurred.
This means that if someone clicked on your ad on Day 1 but didn’t purchase until Day 8, it would still be considered a conversion in the “Conversions (by conv. time)” column.
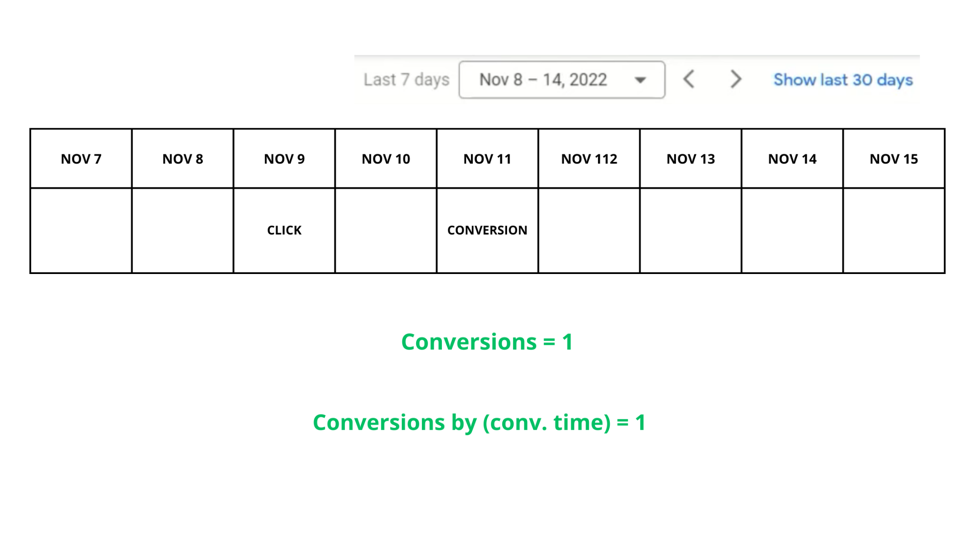
To better illustrate this distinction, let’s look at this example.
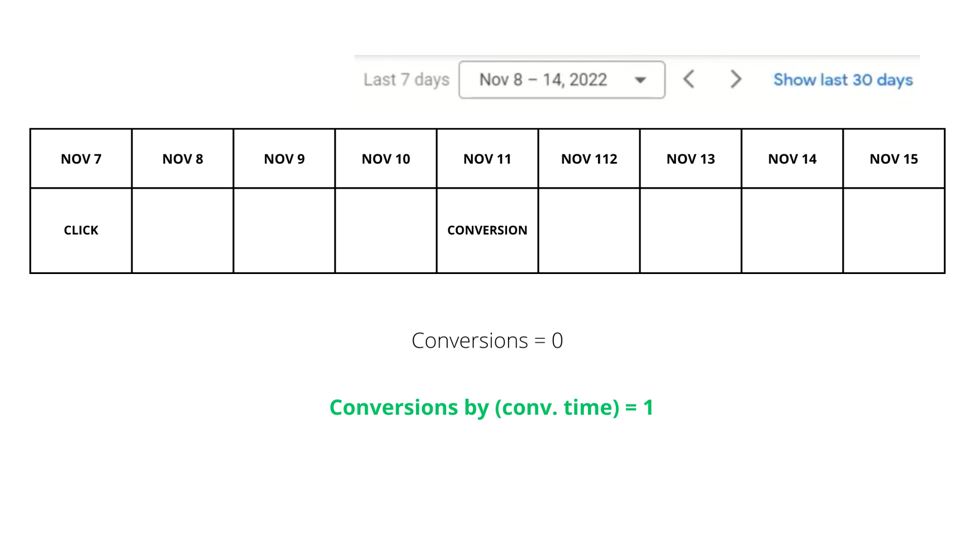
Suppose someone clicked on your ad on November 7th but didn’t make a purchase until November 11th.
If your viewing date range is set to Nov. 8 – 14, the Conversions column will show no conversions because the purchase occurred outside that time frame.
On the other hand, the Conversions (by conv. time) column will display one conversion because the conversion happened within the time frame.
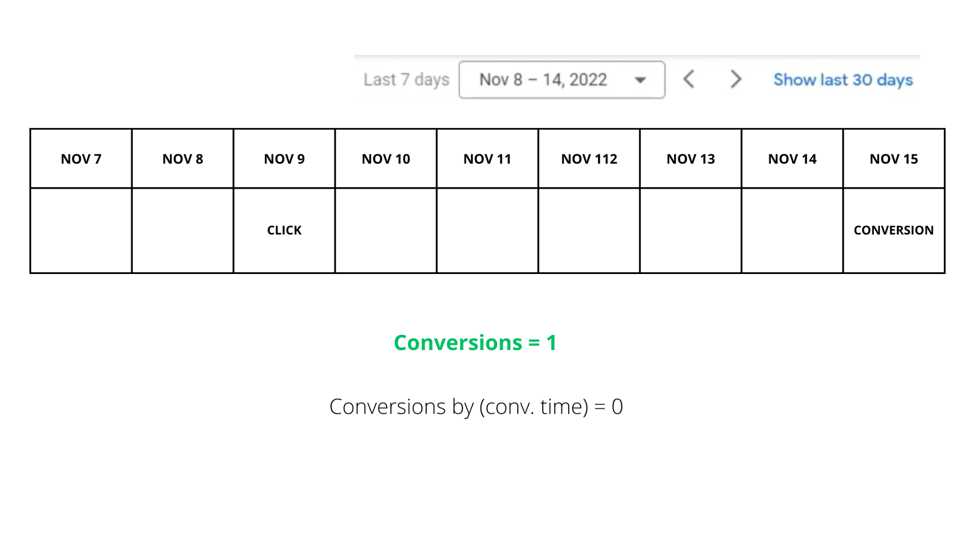
Next, if the conversion click happened on Nov. 9th, but the conversion happened on Nov. 15th, then you’ll have no conversions in the column Conversions (by conv. time), but you’ll have a conversion in the column Conversions.
Lastly, if the click happened on Nov. 9th, and the conversion happened on Nov. 11th, then you’ll see conversion in both the conversions column AND the conversions (by conv. time) column.
How to add Conversions (by conv. time) column
Adding the column Conversions (by conv. time) is easy.
- Go to your campaign.
- In the upper right corner below the viewing date, click Conv. Value (or whatever option is showing).
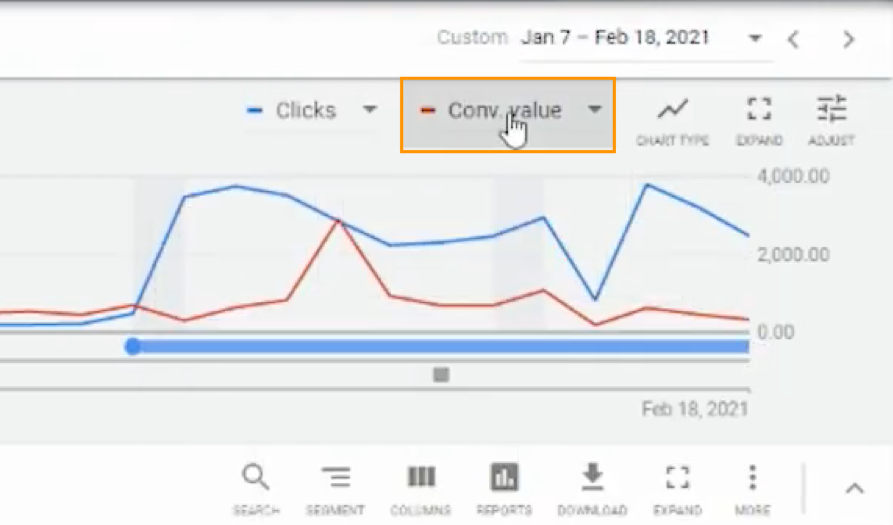
3. Click Conversions. Look for Conversions (by conv. time) and click it.
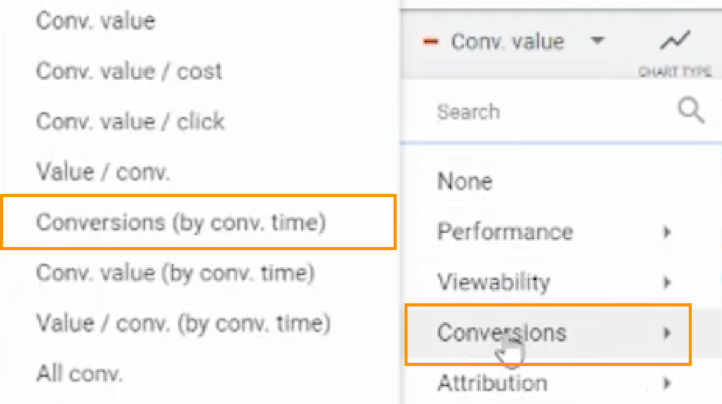
You should now be able to see the Conversions (by conv. time) column!

Why use the Conversions (by conv. time) column?
So, why should you consider using “Conversions by conv. time”? This metric allows you to bypass the waiting time for conversion lag and gain immediate insights into how many conversions occurred within a specific time period.
By analyzing the conversions within a designated viewing date range, you can make timely decisions, optimize your marketing strategies, and have more accurate reports without being constrained by the conversion lag.
Author
Bryan is the marketing manager at Solutions 8, and has been on digital marketing since 2018. When he’s not working, you’ll find him working out at a local gym, reading personal development books, or playing music at home. He feels weird writing about himself in third person.
 Bryan Caranto